Showing posts with label do it yourself. Show all posts

Sunday, December 27, 2015

Quick Pizza Recipe


Are you ready for something besides Christmas leftovers? This is a dressed up frozen pizza. Wait before you turn me off! My two grown sons would never eat frozen pizza until I sneaked this one in on them. It's really good - I promise.

I'm writing this in the middle of winter when fresh herbs are hard to find here in the mid-south. You may have to buy fresh ones at the grocery but dried ones work well too.

Here's all I do to make a quick, cheap pizza that tastes like gourmet:

Fresh Herbs
*One frozen pizza - flavor is up to you. I used a store brand 3 cheese because Bill's heart diet does not allow the sausages
*Fresh, frozen or dried Oregano, fennel, basil, chives,parsley and thyme - all chopped. A little extra garlic powder or better still - fresh garlic chopped.
*Extra graded Romano cheese and extra Mozzarella shredded.

Add the extra cheeses -we like ours REAL cheesy! Sprinkle the herbs on top and bake. I find it takes at least 15 minutes longer than the instructions on the box. Take it out when it is brown and bubbly like the one at the top of the page. Below is what it looks like when it is ready to go into oven.
Pizza ready to bake


Sunday, November 29, 2015

Make a Natural Holiday Simmering Potpourri for Yourself or as a Gift


Do you remember making Cloved oranges as a kid? We poked cloves into fresh oranges  - usually in pretty designs but they are OK just where ever you want them as long as you put quite a few cloves. I did them and allowed the oranges to dry. They actually lasted quite a while in a pretty bowl. I arranged them above with pine cones and Fresh Rosemary.


Natural Potpourri Simmer
 Using the same idea, you can peel an orange (eat the orange or use it for juice), Dry the peel. I dried mine in the oven set on it's lowest setting. Check them often to be sure they don't burn. Break the orange peels in to small pieces, add  whole cloves, cinnamon stick pieces, whole allspice, dried apple slices and berries from a cedar tree. This last one is optional but it makes a really festive holiday fragrance. If you live near a woods where cedar grows the female trees are loaded with blue berries in the fall! . To make the house smell like Christmas simmer a couple tablespoons of the mix in a small pan of water on the stove Be sure to check often so it doesn't boil dry. I wonder if you can still find those potpourri simmering pots like I had several years ago. Not only does this smell delicious but will add humidity to the house and the essential oils are good to breath too. Package this up in little jelly jars or small bags for a nice little gift also.

Sunday, November 8, 2015

New Celery from Purchased Celery

I found this on Pinterest and rather than rewrite this whole post I'm going to send you to this terrific blog! It shows how to grow a whole new celery plant from a purchased celery! A good tip and a new blog to follow too. I'm going to do this one for sure.

http://chickensintheroad.com/farm-bell-recipes/re-growing-celery/

Sunday, September 13, 2015

How to have beautiful roses and flower arrangements too


A cheap natural trick for beautiful roses:  flatten a banana peel and bury it approximately 1 inch deep at the base of each rose bush. Bananas contain Potassium and roses love potassium. Potassium also helps with disease resistance too - for roses as well as humans :-)

A few tips for keeping fresh flowers such as roses and other blooms fresh longer in arrangements:

* Remove any leaves that would be under the water, But don't remove the thorns from rose stems. This seems to shorten the life of their blooms,. Most florists remove the thorns for safety reasons but you can leave them on the ones you bring in from your own garden. 

*Lukewarm water is best for most cut flowers, but use Cold water for flowers that grew from bulbs like daffodils, Tulips, etc.

  *Do not place fruit near your cut flowers.  Fruit releases natural gas that will cause your flowers to die or wilt sooner. 

  *Keep your arrangement away from direct sunlight too.

 Here is a recipe for homemade flower bloom preservative:

2 Tablespoons Lemon Juice to 1 qt water, 1 Tablespoon Sugar & 1/2 teas bleach, 1 aspirin and a penny - yes, a penny! It's the copper. Drop a penny in a vase of tulips to keep the flowers from opening too soon. 


Saturday, August 1, 2015

What to do with all that squash you grew


Are you in the middle of a squash bonanza like me? I've eaten it fried, dried, in casseroles and stir fried! I wanted to share a simple way to preserve squash by dehydrating and also this good recipe for dried squash chips that I made this week.

First how to dry squash:
I use a purchased dehydrator. It was not expensive and there are lots of choices for these on line. There are also instructions for making your own solar dehydrator too. I like the one I have. It has served me well for several years and is plenty big for what I need to dry. The photos below are a step-by-step on drying zucchini. The same method works for any summer squash. If the squash was extra large I cut the round slices into two sections.
1. Slice 1/8 in. thick


2. Layer slices on rack 


3. Ready to remove and store in baggies


Seasoned Squash Chips:
Using the same method as above except before layering slices on your racks, put the squash slices into a gallon sized baggie and add 1-2 teaspoons each of dried oregano, dried basil and garlic salt plus about 2 tablespoons of olive oil. Zip up the baggie and shake to coat all the slices. You can use purchased Italian seasoning mix if you don't have dried basil and oregano. If you do that use less salt. Now put on the racks and dry as above. These make a great healthy snack

seasoned chips ready for drying


Next week I will post my Zucchini Lasagna experiment. The photo below shows that it was a hit!

Tad slurped it up!


Saturday, July 25, 2015

Fun Gardening, Cooking and Craft videos!

OK I'm guilty. I spent way too much time today on Youube. But  it is a Saturday morning after all - or was when I started! LOL!

Here are a few awesome tips I found there.


and one more...these girls are sort of silly but it's a cute idea.


Saturday, July 11, 2015

Make Your Own Mustard -- Who Knew!


This sounds so good and so easy! I'm going to try it myself! I bet you will like it to. Here is the link to a really good blog post from my friends over at DIYNatural  

Sunday, July 5, 2015

How to Make Stevia Sweetener and Liquid


Of course this is assuming you are already growing Stevia. If not, it's an easy herb to grow. It is hardy in zones 9 and 10 and is grown as an annual otherwise. I grow mine in a big pot and winter it over in the cool greenhouse. It grows fast and likes moist soil and sunshine.

Harvest the leaves at any time but be sure to harvest them all in the fall before frost. I don't let mine bloom because it wants to go to seed after it blooms. Besides, cutting it makes it fuller with lots more leaves.

For Stevia liquid:

Cut the stems about 2/3 of the way down. This leaves room for the plant to grow more branches below where the cut.  I dry mine with the leaves still on the stems. you can dry them in the sun (cover with net to keep clean) or in a dehydrator. I put mine in my hot empty greenhouse. If you use a dehydrator, set it on 95 degrees and it will take about 24 hours to dry.

Strip the leaves from stems and grind in a coffee grinder or use a motor and pestle like I did.

To make the liquid stevia, dissolve 1/4 cup pure homegrown stevia powder with 1 cup hot filtered water.  Stir and leave out at room temperature for 24 hours.  After 24 hours strain the stevia out of the liquid and store the liquid stevia in the refrigerator. Tastes just like the expensive stuff you buy at the grocery! 

Some people use the leaves dried as a sweetener.  It works and is healthy (300 times sweeter than sugar). I personally don't care for the taste but you should try it for yourself. . 

1.                              


Saturday, June 13, 2015

How to kill Aphids with No Harmful Chemicals

This great advice was posted to  gardening forum I belong to. The post was from Angi De Jesus from Southlake, TX. She and her husband Jose own and operate De Jesús Family Farm & Nursery there. They are Master Gardeners, seed savers and canners. Jose is a French trained pastry chef and chocolatier. Angi works in real estate. They hope their plant business will be able to fund a benevolence ministry to meet the needs of those that fall through the cracks of today's economy.

Here's what Angi said about taking care of an Aphid infestation or preventing one:

"Jules Wenke and her mother were prize winning rose growers from East Texas; Tyler, I believe. They were local celebrities winning prizes at the county and state fair, Texas Country Reporter and a weekly tidbit on a local news show and PBS. They always sprayed milk on their roses when the aphids began to appear. In a pinch powdered milk mixed with water in a spray bottle works well too. It seems that enzymes in the whey proteins are highly toxic to aphids.

Jose and I have been using this as well,  just for aphids on fruit and nut trees. It appears to only be toxic to Aphids and Pill Bugs but keeps the bees, Ninja Bugs, Assassin Bugs, Ladybugs, Praying Mantis around to do their jobs and it is safe around animals. Whenever we have a bit of milk, buttermilk or cream that is past due date, I mist it on and around our plants sometimes using a 20 gallon sprayer for larger jobs. (who are we kidding…I make Jose do this as I haven't the grace to lug around a 120 ft hose! LOL!)

I keep a large bag of powered milk around for this case as well. If I see a problem, and we have no milk on hand, then I put a cup of powered milk in the 20 gallon sprayer attachment and hand Mr. Jose a cup of coffee and direct him to his mission. Works every time!


I also make a practice of "cleaning" plants and cuttings that we introduce from outside sources. I give them a bit of wash using a mixture of 1/2 cup baby shampoo, 1/2 cup mint Listereine (or other oral disinfectant-not mouthwash like Scope) in a 32 ounce spray bottle topped off with water. I mist the plants or cuttings….sometimes giving them a bit of a wipe down if I see a problem. This is a trick I learned from the late Jerry Baker. I just love his books and have yet to find one of his Granny's home remedies that did not work."

I wish I had a Jose around my little business! Bill has a "Honey Do" list a mile long but he is not very good in the garden. He would probably spray that milk every where but where it needed to be! 

For more information on the garden forum check here: FreePlants.com

Sunday, June 7, 2015

Make Bath Salts from Your Rose Petals


May and June are the months that our roses are at their peak of bloom. I always hate to see all those beautiful fragrant petals go to waste. How timely it was for me to receive this recipe for Rose petal bath salts in the mail today. I'll pass it along to you as well as my recipe for rose petal potpourri.
 
For bath salts you will need to mix  1/2 cup each Epsom Salt and sea salt with one tablespoon rose petals (or more if you like) and two drops of rose oil or lavender oil - optional but it will smell yummy. Add all this to a big tub of warm water for a relaxing soak. I'm going to make four times this recipe and store in a container. That way I'll have plenty for long tub soaks after a day of working in the garden. 

Rose and Lavender Potpourri
For a pretty as well as fragrant potpourri, use two cups dried rose petals, 2 cups dried lavender (leaves and flowers) and one tablespoon Orris Root powder. The Orris Root fixes the fragrance so it doesn't fade away as quickly. Mix all ingredients together in a glass or stainless steel bowl and store for a few days in a container with a tight fitting lid until all fragrances are blended. Put into a pretty bowl or make little sheer bags of it to place in closets or give to friends, Hint: dry your rose petals and lavender together in an open container to blend the fragrance even more.

Sunday, May 24, 2015

Make your own Croutons

Home made croutons


Why spend two or three dollars a box for dry tasteless croutons when you can make your own from left over bread. I save the end pieces and any left over bread and make croutons with my dried herbs (or Italian spice mix) and olive oil spray - real simple and quick!
Seasoning ingredients


Start with the bread and use kitchen scissors to cut it into small squares,

bread ready to cube
cubed and ready to bake

Now spray the pieces with olive oil spray. Spray is cheaper and easier than pouring messy olive oil all over the place. I use my fresh dried oregano and basil plus garlic salt but Italian spice mix will work too. I use it generously! Toss to coat well and pop into a 350 degree oven for about 20 minutes. Stir the croutons about half way through.They should be golden brown and crispy when done.  Let cool before storing in a baggie or tin. Enjoy!


Saturday, May 2, 2015

Simple Orange Vinegar Cleaning Solution

I use vinegar for lots of things around the house. We even make a drink with it to help prevent kidney stones. I had a kidney stone recently from taking too much calcium supplements! I never want another one! I'll post that one at another time.

Here is a "smell good" all purpose simple cleaner:

2 quart jar of orange peels
white vinegar

Put fresh orange peels in jar, cover with vinegar and let sit for about six weeks.Strain out the liquid, pour into a spray bottle and use it to clean sinks and counters, stove top too. Add a little baking soda and spray to make an abrasive for cooked on stain.  Don't forget to toss the used orange peels in the compost.

Saturday, April 25, 2015

Cheap and Simple Seed Starter Cups

Most of my readers know how frugal- translate that cheap! Since I grow and transplant hundreds of tomatoes and other small plants, my container expense was climbing. I have small groups of folks over to my house every other week and we have snacks - I use the tall plastic cups to keep from washing dishes. They are just the right size to pot up my tomatoes for sale in! I used an ice pick to put holes in the bottom and a black permanent marker to write the variety on top!

Saturday, April 18, 2015

Seed Potatoes in a Barrel!

I have very little sunny space for gardening in my yard. This year I am doing Straw Bale Gardening and I will post my experiment here soon. In addition, I am growing potatoes in half barrels. My son gave me a big white plastic barrel that had been around his work yard for years. It had not contained anything hazardous. Bill sawed it in half and drilled 1/2 inch drainage holes around the sides and in the bottom of the half that was the barrel bottom.

Here's what the bottom of that barrel looked like when Bill was finished drilling drain holes. I used a coffee filter to cover the big hole that was in the top.
Next I put about 4 inches of compost in the bottom of both barrel halves, laid my seed potatoes on top of the soil as in the picture at the top. I did red potatoes in one and Yukon Gold in the other half. Next I covered the seed potatoes with more compost until I could not see any of the potato seeds. picture below:
As the potatoes grow, I will keep covering the vines, leaving a few leaves to soak up sun, until the vines reach the top of the barrel. At that point I will let them spill over the sides till it's time to dump out my harvest! I'll post more as they grow.

Saturday, March 7, 2015

Sweet uses for sour lemons!

As a hot tea with lemon addict, I end up with lots of left over lemon slices. I have always composted them but after reading these great tips from DIY Natural.com, I think I may use some of them for a few of the suggestions below.


Make an all-purpose cleaner
This is one of the simplest ways to use your leftover lemon peels. Add the peels of several lemons to a large jar, and fill with white distilled vinegar. Allow the solution to “steep” in a cabinet for a few weeks. Strain out the peels, and use the vinegar solution as a great lemon-scented all-purpose cleaner…perfect for de-greasing, disinfecting, and leaving things smelling fresh. Add the citrus-infused vinegar to a spray bottle and use to clean countertops, sinks, toilets, spills, stovetops, or other surfaces.

 Refresh and sanitize cutting boards
Lemon does a nice job of eliminating odors that are trapped in your cutting boards (like garlic and onion!). It also sanitizes boards due to its antibacterial properties. Take half a squeezed lemon with pulp intact, and rub vigorously over a cutting board that has been sprinkled with a coarsely ground salt (like kosher salt). Rinse well and allow to dry.

Deodorize garbage disposals
I always used lemons and oranges for this when I had a garbage disposal at my former home. Smelly garbage disposals can be freshened up with leftover lemon rinds. (I’m always careful to put smaller chunks down the disposal so it doesn't clog.) Simply drop rinds down the disposal with a few ice cubes and run the disposal.

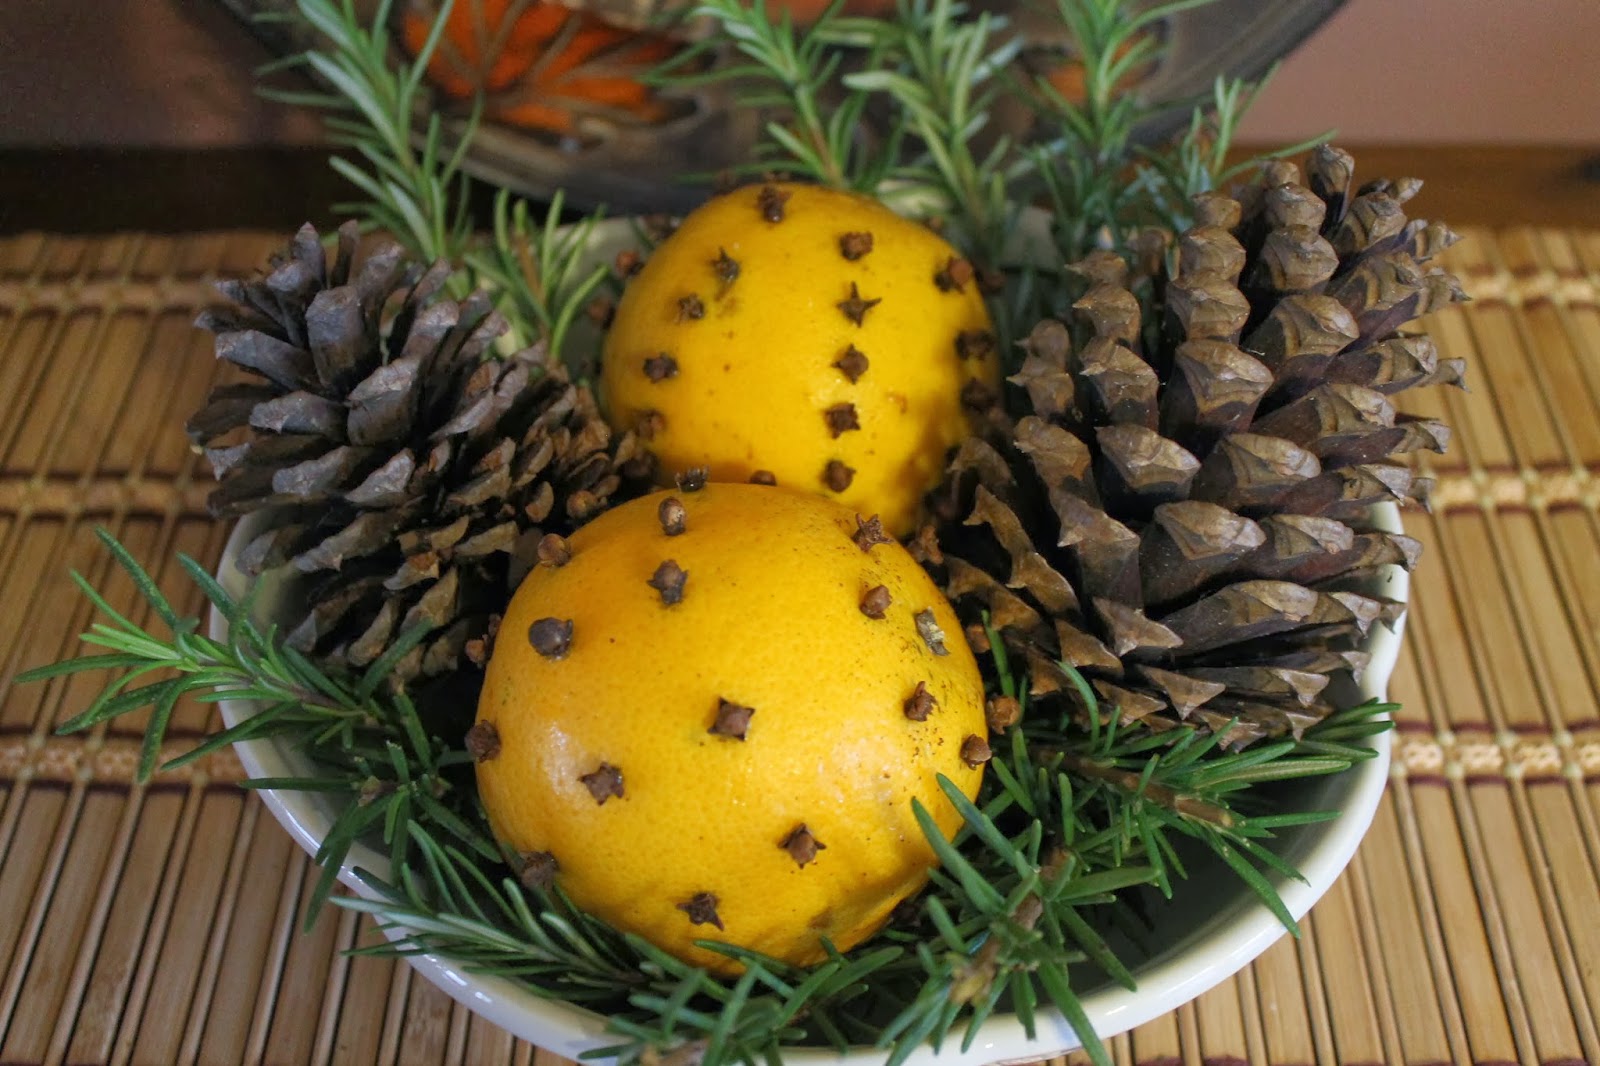
 Freeze lemon peels for recipes
You can freeze your rinds (or even whole lemons) and use them in recipes calling for lemon zest. You can also zest your fresh lemons before using them, and store the lemon zest in the freezer. Store flat in a zip-top baggie so it’s easier to break off a chunk of frozen lemon zest. Allow to thaw before adding to recipes. Add small amounts to foods, smoothies, or desserts for a bold flavor.

Start seeds indoors
If you have lemons that were cut in half and juiced, you can use those lemon “cups” to start seeds indoors. Poke a few holes in the bottom of the lemon if desired (for drainage), fill the lemon halves with soil, and plant your tiny seeds in them. This entire lemon cup can be planted outdoors in the spring. Orange halves would work here too.

 Remove rust stains
The acid in lemons helps remove rust stains. This can be helpful in showers where shaving cream cans have left a rust ring, or sinks where iron pots have been left. Sprinkle salt on the rust stain and rub with half of a lemon that still has pulp inside. Allow the salt and lemon to sit for several hours, scrubbing periodically if needed. Allow the lemon to rest on the surface overnight if the stain has not yet disappeared, then rinse well with water.

Do you have tips for using lemons? Post them here and share with us! 


Monday, March 2, 2015

Stop Birds from Flying into Your Window Glass


If you feed the birds near your windows or glass doors or even if you don't and the glass is near where they fly, you have probably had a bird dash against the glass. They often do not survive. I love watching the birds up close from my kitchen table but often I would have to go out and rescue a stunned little bird. I saw the perfect solution one day at our "everything for a dollar" store. Little metal butterfly stickers. I popped them onto my glass doors and no more knocked out birds! They make the glass visible to my little feathered friends.They have held up through lots of window washes and of course, since they are on the inside, rain is not an issue.

Saturday, February 28, 2015

GROW YOUR OWN MEYER LEMONS FROM SEED

I look forward to December every year not only because of Christmas but because our local grocery has Meyer Lemons for sale.

They are a real treat for us tea sippers and lemon lovers. Nothing beats the tangy Orangey/lemony taste of a Meyer lemon. Last year I saved seeds from one and planted it in the spring. I was rewarded with this little seedling. You can grow one too - no matter where you live.

Look for Meyer lemons in the produce isle and my store has them in a separate area from the other lemons. Meyer lemons are bigger than normal lemons and much juicier.

Save the seeds that you will find near the center of each lemon. Some of them have lots of seeds and some only a few.
Rinse the seeds and allow them to dry. Store them in a little container until ready to plant. I put them in a small pot of regular potting soil, cover with about a quarter inch of soil and keep moist until you see the little seedling. Keep it moist and warm and it should grow for you. Remember these are tropical plants so be prepared to winter them over inside if you are above zone 8. If you are lucky enough to have a greenhouse that's perfect. I have grown several types of lemons from seed and I winter them over in my little greenhouse. One is pictured below. It doesn't get below 40 degrees in there so they make it through the winter just fine. A sun room or brightly lit window will work too.

2 year old lemon in my greenhouse
As you can see in the picture above, my little tree is small but happy in the tall pot I planted it in. As it gets bigger, I'll move it up to a larger container. I'm not sure how long it takes for it to bloom. Probably three or four years - I can hardly wait. My friend bought a tree from a local garden center. It was EXPENSIVE and full of blooms. she said every bloom fell off about a week after taking it home. I think one of two things probably happened; she went from cool greenhouse atmosphere to dry house. A humidifier or steamer may have helped. Some plants simply don't like to be moved and will drop blooms and leaves due to shock. If that happens just water it sparingly and wait. They will usually recover and put out new leaves. Keep it happy and you should have blooms the following year.


Monday, February 23, 2015

MY DIY SUET GUARD

If you have read my blog for a while you will know that I feed the birds and even grow meal worms in our art studio for the blue birds. For that how to click here but be sure to come back. This week I decided it would be fun to have some peanut butter suet near the window so we could see the woodpeckers and blue birds up close. I knew from past experience that they can be quite messy... slinging suet all over the window and figured the parts that they dropped on the deck would attract ants too. I wanted a tray to catch the crumbs. The first thing I tried was a bakery cake clear top from a birthday cake I purchased. It worked well until a Downy Woodpecker got in it and could not climb out! I turned him loose and went to plan B. Bill remembered the little salad containers we saved from Wendy's take home so I got the lid from one of those, heated an ice pick on my stove burner and melted a hole in each of the four corners. Next I tied jute twine into the holes and tied them all together at the top to make a way to suspend the little tray under the suet. It works great as you can see from the picture above.  here's a closer view:  Next week I'll tell you about the butterflies you see on my door glass.

Tuesday, February 17, 2015

Blue Bird Treat DIY Project

I feed all sorts of birds but the blue birds are one of my winter favorites. I've written several posts about growing meal worms for them. I started buying little peanut butter balls packaged as a bird treat. They are a little expensive, so I set out to make my own. The experiment was a success and the Blue Birds, Woodpeckers, Wrens, Titmice and others gobble them up the minute I put them out. Following is my recipe:

Mix together in a large bowl the following.
2 parts Plain (not self rising) yellow corn meal
1 part freeze dries meal worms (available at most Walmart stores, Tractor Supply or here http://www.exoticnutrition.com/driedmealworms.html
1 part chunky peanut butter
Mix well, pat into a suitable container, score into serving size chunks and place in the freezer to set. Break apart and store in the refrigerator.

Ingredients ready to mix

Mix to this consistency

Ready to freeze
Not only Blue Birds but all the birds in my yard love this treat. I also made a suet/treat feeder from a carry out meal container. It is pictured below. I used two old hanging basket wires to hang it from a shepherds hook on the deck where I can watch from my window. The Lucite feeder with the cover came from Wild Birds Unlimited and I've had it for years. It is designed especially for live worms. Read how I grow them here
 http://www.tipsforgardeningonline.com/2009/03/worms-in-basement-part-2.html


Here are some of the birds enjoying the peanut butter. The Turkeys aren't after the peanut butter but we love watching them scratch for bugs in the fallen leaves. We have seen as many as 7 in our front yard.
Homemade Suet Feeder 


Blue Bird

Woodpecker

Tufted Titmouse

Wild Turkeys