I love to keep flowers in my home. I buy them in winter when none are growing in my yard or the flowering plants in the greenhouse are resting. I never feel like my arrangements are just the way I want them. I found a wonderful blog about how to arrange flowers today and rather than try to tell you all I found, I'm posting the link with the terrific pictures for you here.
Enjoy and Merry Christmas!
http://www.ballardstylestudio.com/2012/11/flower-arrangement-ideas/
Showing posts with label crafts. Show all posts
Monday, December 21, 2015
Monday, December 7, 2015
Zentangle
So what the heck is Zentangle and what does it have to do with gardening? Well, it's my latest way to keep from going stir crazy while I am trapped in the house because of the cold! When I don't have many gardening chores to keep me busy, I spend time in the art studio doing lots of crafty things.
I discovered Zentangle a few weeks ago at my church's silent auction. A Zentangle teacher had donated some Christmas ornaments made with the technique and I was intrigued. My friend explained that it is a form of organized doodling! I did some research on the Internet and I am hooked! The one above is my first try. I did it on watercolor paper because it's what I had on hand. I plan to make some polymer clay blanks and make earrings and necklaces using this art form.
It is very easy, relaxing and addictive! If you want to try it yourself here are a few websites worth looking into. http://www.zentangle.com/ and http://tanglepatterns.com/
Sunday, December 6, 2015
Christmas Countdown Craft for Kids
This is a cute little craft for kids and Mom's too. It's a form of advent calendar with a little poem that reads:
Santa's beard is very bare.
On his chin there is nohair.
so each day,
Add a puff so white.
And when there're all on,
He'll come that night!
Each night a child adds a cotton ball to the beard and when the last one is on -it's Christmans Eve.
This one uses a printed Christmas Shopping Bag from NashvilleWraps.com but you could use any Santa picture that would have a beard large enough to hold 25 cotton balls. The step-by-step instructions are printed here along with a free downloadable file for the poem art. http://www.holidayribbon.net/ I would use a glue stick to keep from getting little fingers - not too mention your floors - sticky.
All you need is your Santa Picture, Glue stick, 25 cotton balls, ribbons and the free downloadable file from the web site. Have fun but hurry - Christmas is coming soon!
Monday, November 30, 2015
A Few of My Favorite Snowmen
I love snowmen - whimsical ones, felt ones, old ones, cheap ones and even real ones. I don't do a themed Christmas tree but I do put lots of my little snowmen on my tree every year. I usually can't resist buying a few new ones every year. I thought I'd share a few of them here.

I don't care how many snowmen you have there must be the ancient angel from years back gracing the tip top of the tree!
Sunday, November 29, 2015
Make a Natural Holiday Simmering Potpourri for Yourself or as a Gift
![]() |
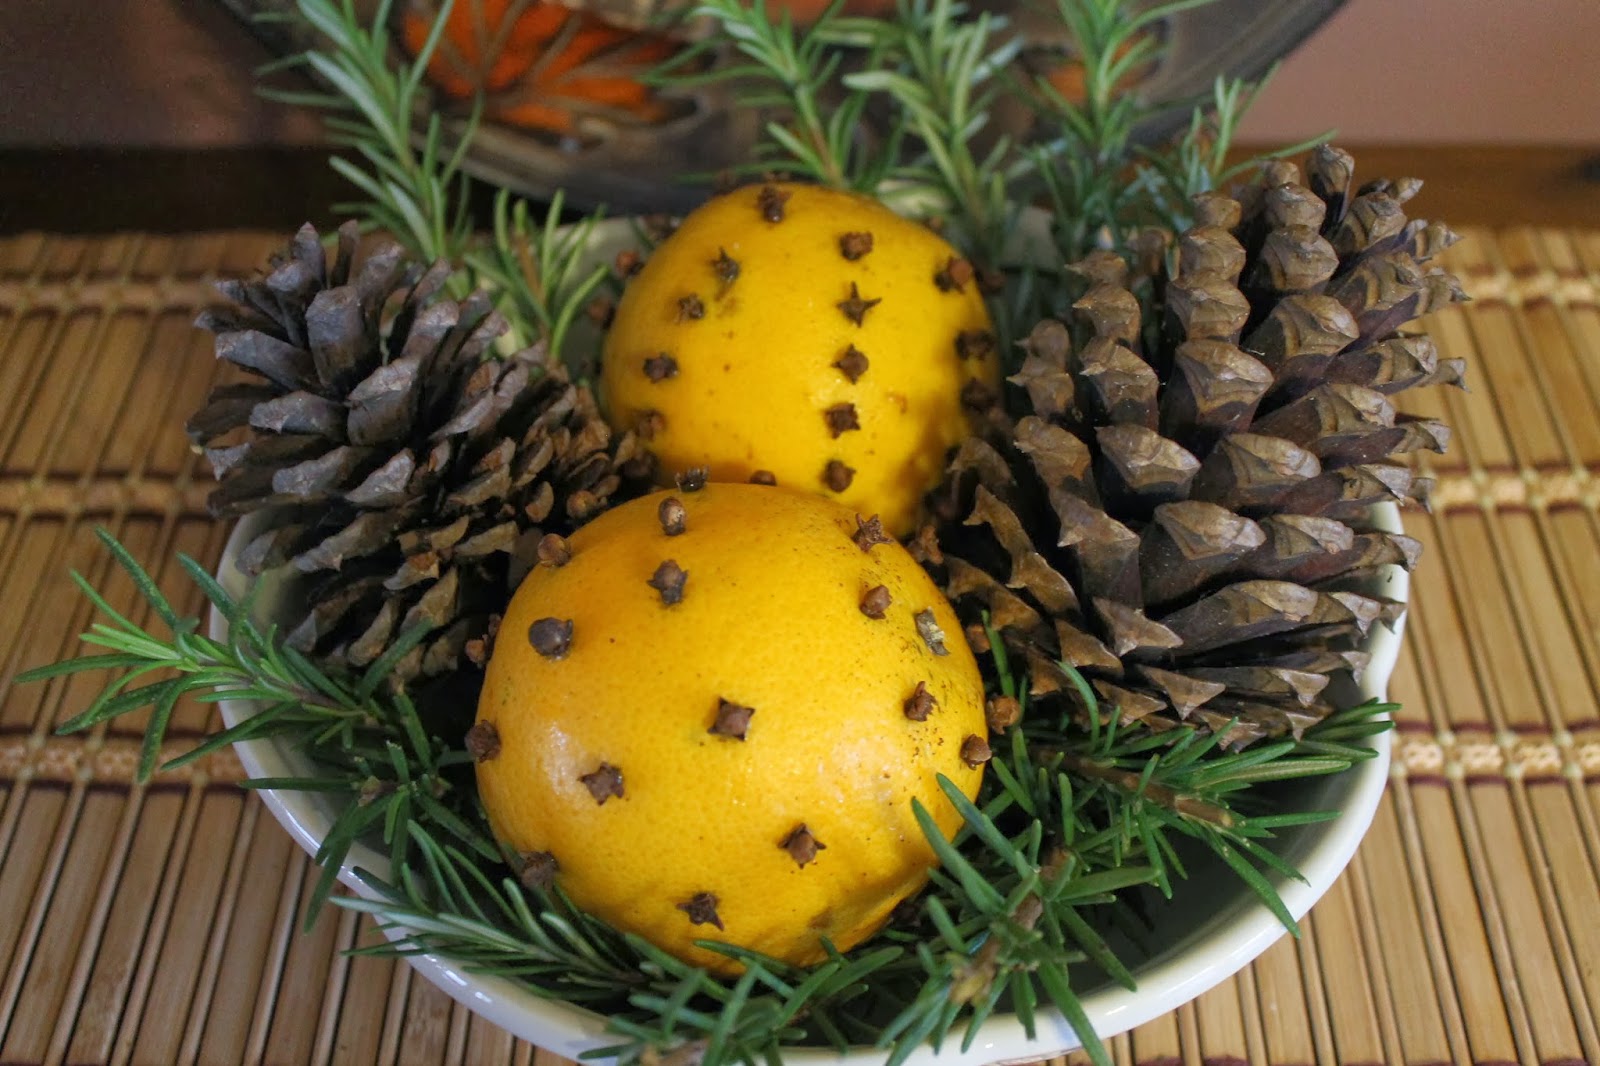
Natural Potpourri Simmer |
Monday, November 9, 2015
Cheap and Easy Giftwrap Trick
Of course, I had waited till the last minute to wrap my gift - procrastinating runs in our family. LOL! Thank goodness I remembered that gift wrap paper will curl if you cut it into strips. I took the scraps that were left from wrapping my box and used my decorative edge scrapbooking scissors to cut it into 1/2 inch strips. You can use plain scissors if you want - I just wanted to impress my brother. :-)
Now I took the edge of my regular scissors and gently pulled them down the strips the same way you would curl curling ribbon. Now I stapled them together in the center. I added raffia to mine but plain paper is cute too. All I had to do now was tape it to the gift. I think it turned out great! Watch for my blog post on Nashville Wraps' blog site with even more details. Here is a link to another cute trick I posted there.
Sunday, November 8, 2015
Bottle Trees and Garden Art
I love my garden art about as much as I love my garden. My newest addition was made by my son, Zack. When I saw Ginger's Bottle tree (Law of the Land blogger) I knew I had to have one. Zack is an artist with a welder so he was drafted. He finished my bottle tree a few weeks ago. It occupies a place of honor in my little round bed out front. I was tickled when I found the pretty blue bottle in my dad's barn. I love the way Zack curved little wires around some of my bottles - they look lik
e metal vines. By the way, if you live in middle Tennesse, Zack will make you a bottle tree for a reasonable price. leave me a comment if you are interested. 


There's a blue bird (over sized to say the least) hiding in my kitchen window box. I'm surprised that the wren bird didn't build a nest in it. And my oldest and most favorite is the cherub sitting by my front steps. this piece of art has moved with me three times - I hope it is home for good now -I'm too old to move again and it is too!

Friday, October 30, 2015
Easy Craft - Autumn Votive Jar
As I promised in my last post, here are the easy little handmade votive cups I promised to show you. These were a hit at my last gathering of friends. I made two different kinds; one using the leftover corn kernels from my Indian Corn wreath and one using the corn husks from that same project.
For this craft you will need the following supplies
*Various sizes of glass canning jars – I found mine at Wal-Mart but Kroger and Dollar General Market have them too.
*Indian Corn Kernels (see video in this post)
*Corn Husks from Indian corn (corn shucks for you southern folks)
*Paper Raffia I got mine from Nashvillewraps.com
*Hot glue for the corn shuck ones
Corn Kernel Votive Jar
Choose the jar you like and fill it two-thirds full of corn kernels. You could use cabdy corn for this too. For both projects I tore one left over corn husk into narrow strips and glued a strip around my battery votives - looks so cute!. Tie a little raffia knot around the jar top and you are done! I used Orange and Kraft colored Raffia but any colors you like will be pretty.Corn Husk Votive Jars
For this project, I curled the pretty corn husks around the inside of my glass canning jars. I stuffed more husks inside this curled layer to make a place for my battery powered votive to rest. As above, use your Raffia to tie a knot or bow arond the jar. These would be cute on your Thanksgiving table too.
I’d love to see pictures of your votives. Send them to Kathy Green and I will post them and give you credit in a future blog post.
Monday, October 19, 2015
Easy Autumn Harvest Craft Project
http://www.youtube.com/watch?v=2iim2ZPwbhw
Saturday, September 26, 2015
Scrapbook Freebies

I found this one today and downloaded some fishing art that will be perfect for scrapbook pages of my son and grandson's fishing pictures.My Digiscrapping Corner
I spent way too much time on this one! I downloaded a bunch of great stuff, The cute little felt hearts at the beginning of this blog came from this site. http://scrapping-delights.blogspot.com/
This last one has lots of links to free and cheap scrapbooking items. It's called Creative Busy Hands check it out.

With all the rain we have had lately here in Tennessee, I've spent more time with my indoor hobbies. I have lots of projects started and some great ideas that are on the back burner. Now that our studio is restored (after the flood) I'm ready to get back to work.
Monday, September 21, 2015
DIY Mosquito Trap
Found this one on Pinterest.
"Mosquito trap - No more mosquitos!! Cut the top off a 2 liter bottle. Invert the cone and place it inside the bottle. Glue the two pieces together. Add 1 tsp yeast and 1/2 cup sugar to some luke warm water, and pour the mixture into the bottle. Mosquitoes are attracted to the carbon dioxide that you exhale. The yeast feeds off the sugar and emits the same gas, so the mosquito enters the bottle, thinking she will find food there. FLIES LOVE THIS!!! Have caught 1000's of flies!!"
Monday, September 14, 2015
A crafty Bracelet Idea
I actually found this cool blogger on Pinterest I love this adorable and fun craft! I'm going to save this one and do it with my girlfriends too! Hope Studios: Tutorial Tuesday - Button Bracelets
Monday, August 3, 2015
Adding Your Voice to Your Scrapbook Pages
I just read about a terrific new device that will allow you to record your voice into a little chip and attach it to any object. It can then be scanned by another device and played back. What a wonderful way to add your memories to a scrapbook page. Tell what you remember about the day, event, place. If you aren't into keeping journals - this could be the answer for you. Read more
Saturday, July 25, 2015
Fun Gardening, Cooking and Craft videos!
OK I'm guilty. I spent way too much time today on Youube. But it is a Saturday morning after all - or was when I started! LOL!
Here are a few awesome tips I found there.
and one more...these girls are sort of silly but it's a cute idea.
Here are a few awesome tips I found there.
and one more...these girls are sort of silly but it's a cute idea.
Sunday, June 7, 2015
Make Bath Salts from Your Rose Petals
May and June are the months that our roses are at their peak of bloom. I always hate to see all those beautiful fragrant petals go to waste. How timely it was for me to receive this recipe for Rose petal bath salts in the mail today. I'll pass it along to you as well as my recipe for rose petal potpourri.
For bath salts you will need to mix 1/2 cup each Epsom Salt and sea salt with one tablespoon rose petals (or more if you like) and two drops of rose oil or lavender oil - optional but it will smell yummy. Add all this to a big tub of warm water for a relaxing soak. I'm going to make four times this recipe and store in a container. That way I'll have plenty for long tub soaks after a day of working in the garden.
![]() |
Rose and Lavender Potpourri |
Labels:
bath salts,
crafts,
do it yourself,
flowers,
gifts,
herbs,
how to,
potpourri,
recipes,
roses
Friday, May 1, 2015
Scrapbook videos for all my scrapbooking friends
I have discovered a terrific web site chock full of how to videos, tips on using tons of tools and supplies! I watched a video this morning on the Copic Markers that I bought on a whim on EBay a few months ago and I really didn't know much about them. I learned some really good tips for my markers and I intend to purchase more! I found my video by clicking on the "Previous Episodes" button then "products". This site has a wealth of information.
Try it our for yourselves and poke around on this blog - you won't be disappointed. Here's a link: Scrap Time
Sunday, March 1, 2015
My Crafty Side
I’m a little slow sometimes so it took me a while to connect my daily work life to my “real” life. As some of you know, I work for a wholesale packaging distributor, Nashville Wraps. My title is Packaging Consultant but I do all sorts of fun things like making YouTube videos, play on Twitter, write “How To” blogs among other things.
It just occurred to me that some of my crafty gardening friends might enjoy some of the videos I have done for work. With that in mind, I am sharing a couple of recent ones here. Both of these I filmed in my home studio and they are about simple gift wrapping techniques that anyone can do. The first features one of my little art projects and the second is about Sinamay ribbon. I love Sinamay ribbon and use it in my collage projects as well as for gift-wrapping. you can see all my How To videos on Nashville Wraps YouTube Channel.
Tuesday, February 10, 2015
Free Digital Files for Art and Scrappers
I don't actually scrapbook but I use lots of scrapbook digital files to make things like the little canvas above. I've book-marked several of my favorite sits on my sidebar but wanted to post this cool Link for my scrapbook friends http://tammytutterow.typepad.com/vintage_papergoods/ If you like Vintage art and free stuff Check out Tammy's site.
Another great site is the Blog Train - Tons of freebies here!
Wednesday, February 4, 2015
Terrific Cheap Trellis Tips
Can you tell I've been spending way too much time on the Internet lately? Well, I finally retired - sorta. I am only going into work when we do our semi-annual catalogs. Otherwise I am free now to pursue my garden business and invest time is some great ministry opportunities that God has placed in my life. I'll post about all that soon.
I do have a new computer because my old one crashed - it actually wasn't that old and HP is going to fix the mother board and hard drive that bit the dust. I took advantage of my Amazon Prime card and bough a nice new dell laptop plus a 22" monitor that I'll hook up to my little laptop in the studio. Maybe I'll give the HP to one of my kids when it gets back from the PC hospital.
Well, back to the Internet. I have found some really good websites and again today I want to show you one of them.
This one is a post about cheap trellises. I put a picture at the top of one of my garden tubs with it's tomato cage trellis (talk about cheap!) and here are my bargain ones I got at a discount store at the end of the season for $8 bucks each. The link after that picture goes to a really neat blog post and site you may want to bookmark. It's called TipNut and is chock full of all sorts of good ideas! Be sure to read to the end for a DIY using wire coat hanger.s Enjoy!
http://tipnut.com/budget-trellis/
Scrapbooking Outside the Album

Honestly, I rarely "scrapbook". I use all my scrapbooking tools and skills to create artwork for myself and others. I even sell some of it from time to time.
I wanted to share the Christmas gifts I created this year for my husband and his children. I made photo collages from a piece of family history for each of them. You might like to try this too. Here's how I did it.
I started with an ancient photo of the Higdon Hotel in Reliance Tennessee that my husband's greatgrand parents owned. That hotel is still in existence on the Hiwassee river and is in the process of being restored. I had my friend, Marty, who restores photos, make a sepia, black & white and color copy of the original. (Marty's website: ) here's what Marty had to work with, I think he did an awesome job restoring this old photograph. Look at the color print he did without any photo reference except a photo I made this past summer of the way the hotel looks now - no gingerbread trim, no windows and much faded paint!


I decided to use the sepia and color copies of the original photo. I took them to Sam's Club and had four 5x7 prints made of each one. Next I used my deckle edged scissors to trim them all a smidgen. Then I ran them through my Xerlon sticker maker and attached them to a brown card stock that was cut just a little bigger than my prints. once these were arranged on the Bainbridge board I had cut to fit my frames, I started to make my embellishments.
I made a cut out of Grandma Higdon from the original color photo, blew her up so the fan she was holding was vi sable. She was a little grainy because of the size but I didn't mind - I wanted the fan as much as anything and the effect was O.K. I attached her to card stock, and made a name plate to go under the photo.
Subscribe to:
Posts (Atom)